Mobile Planer Table
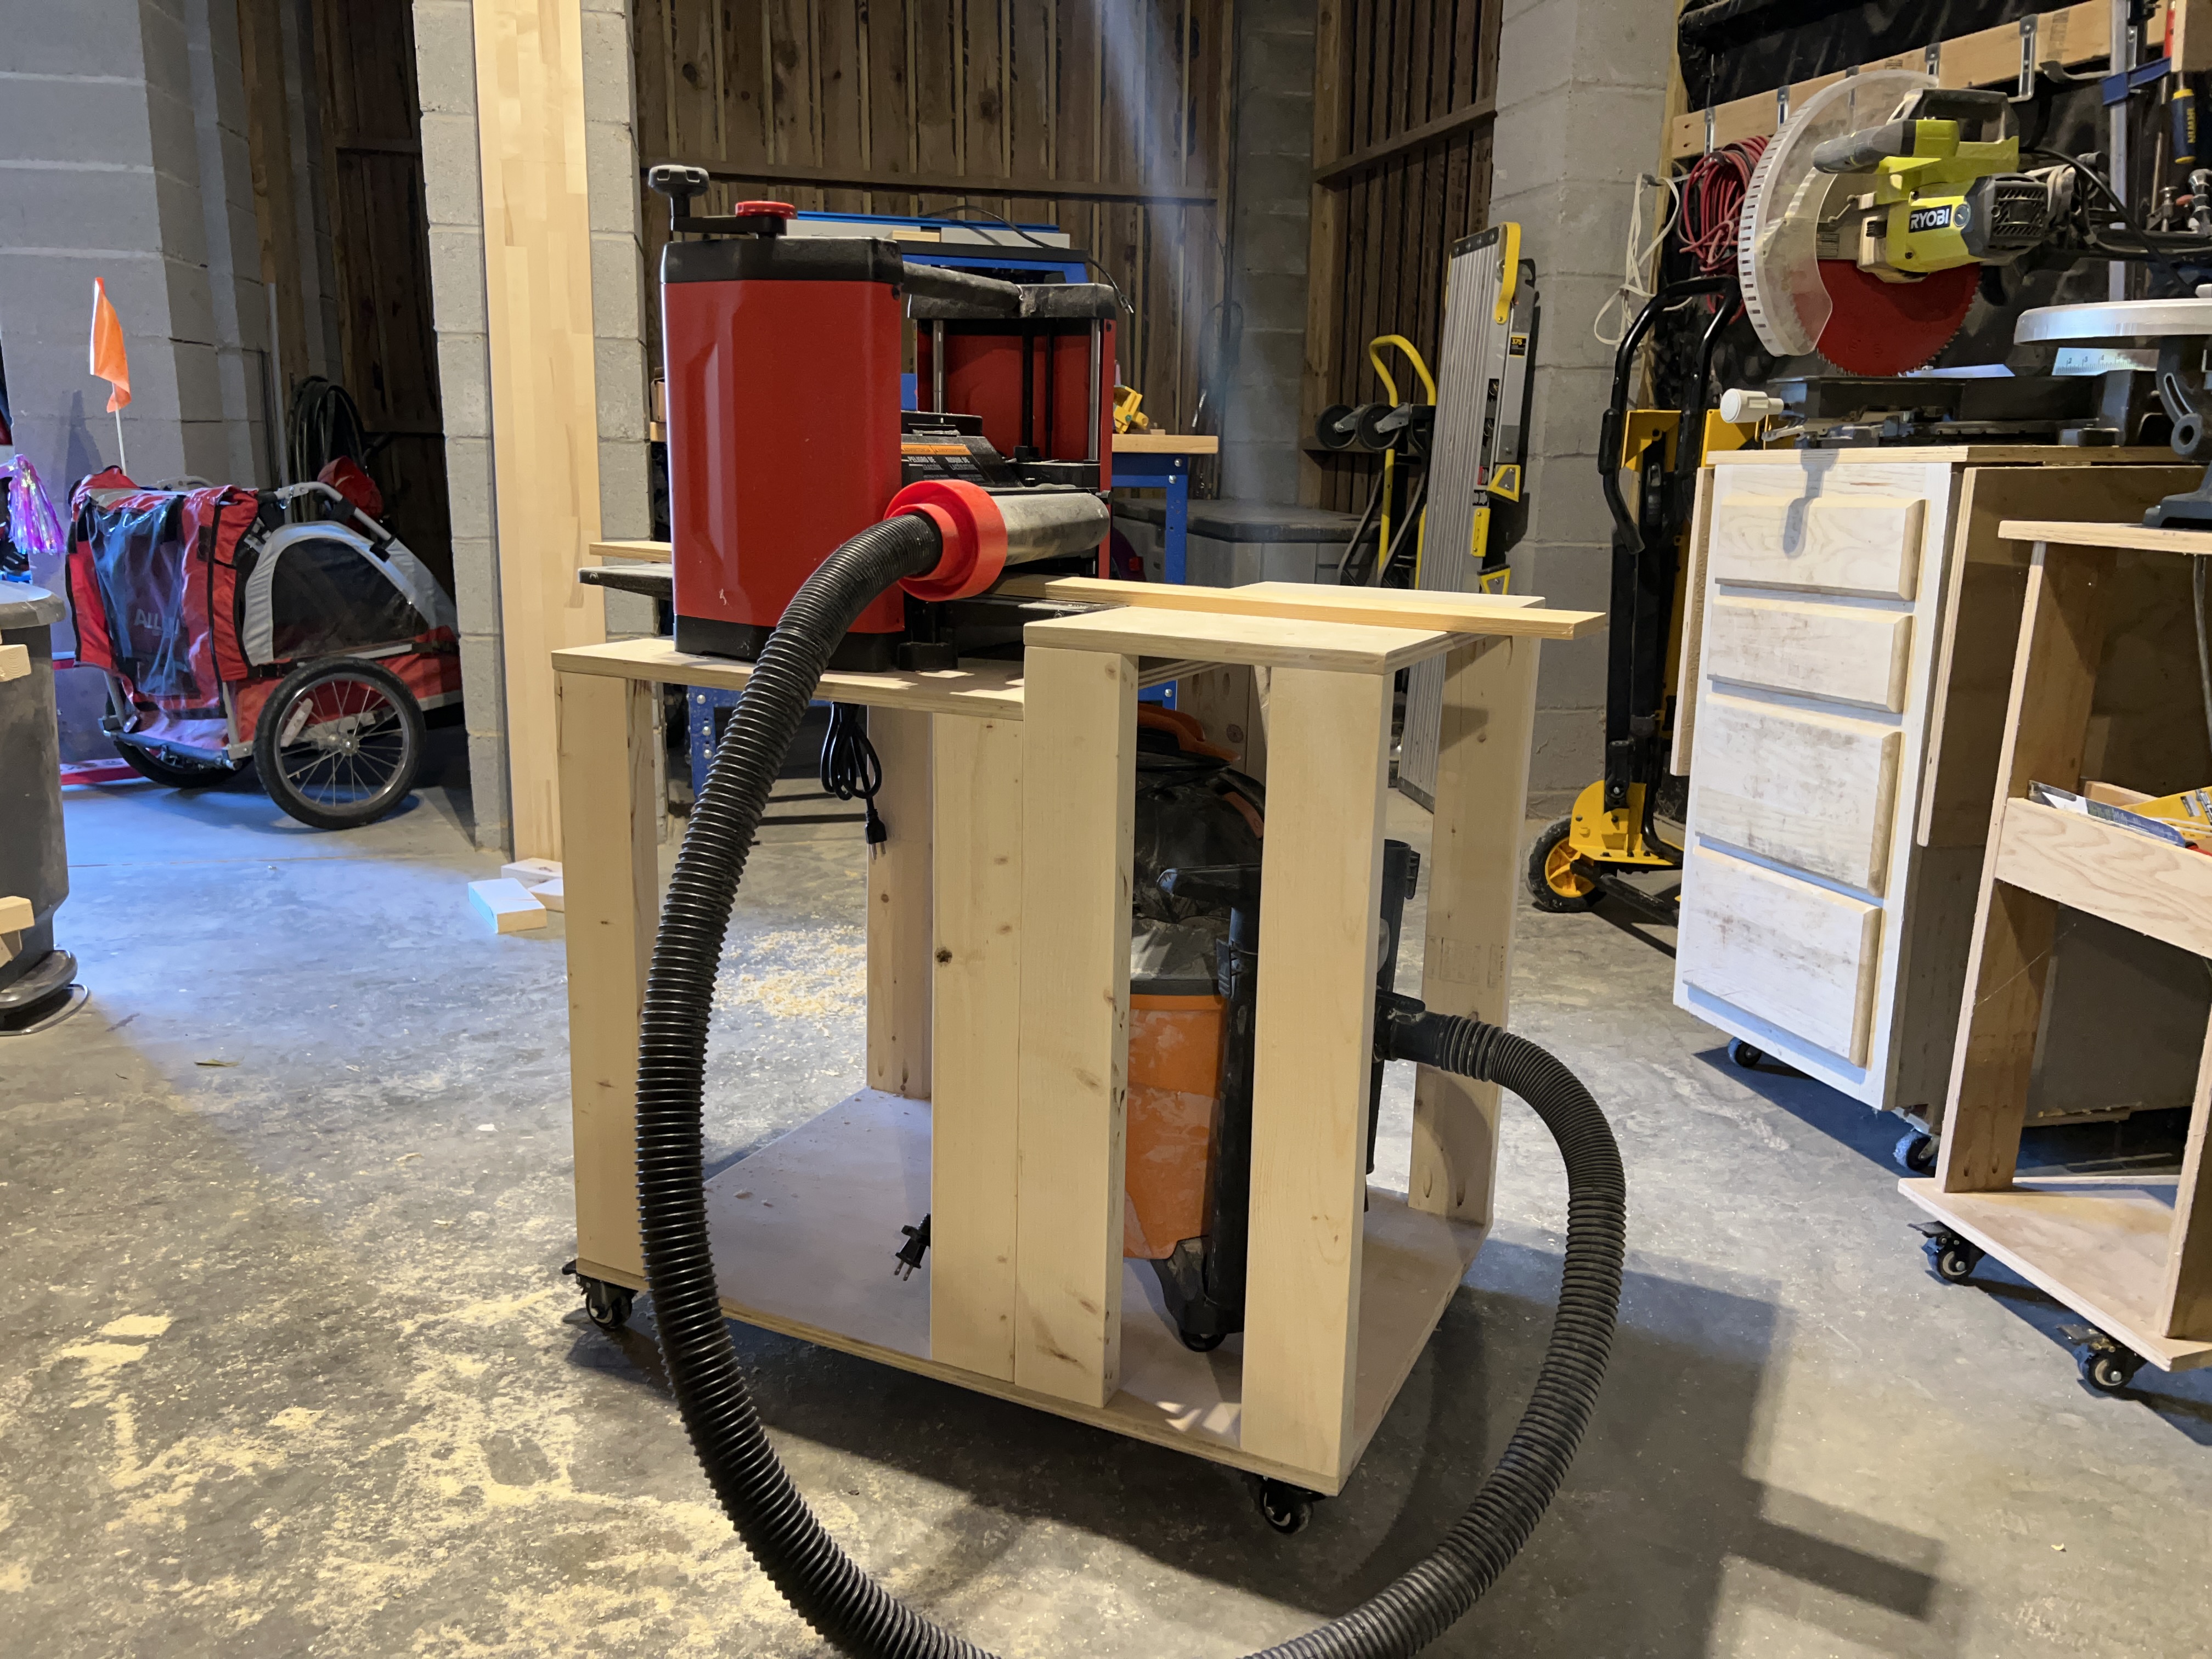
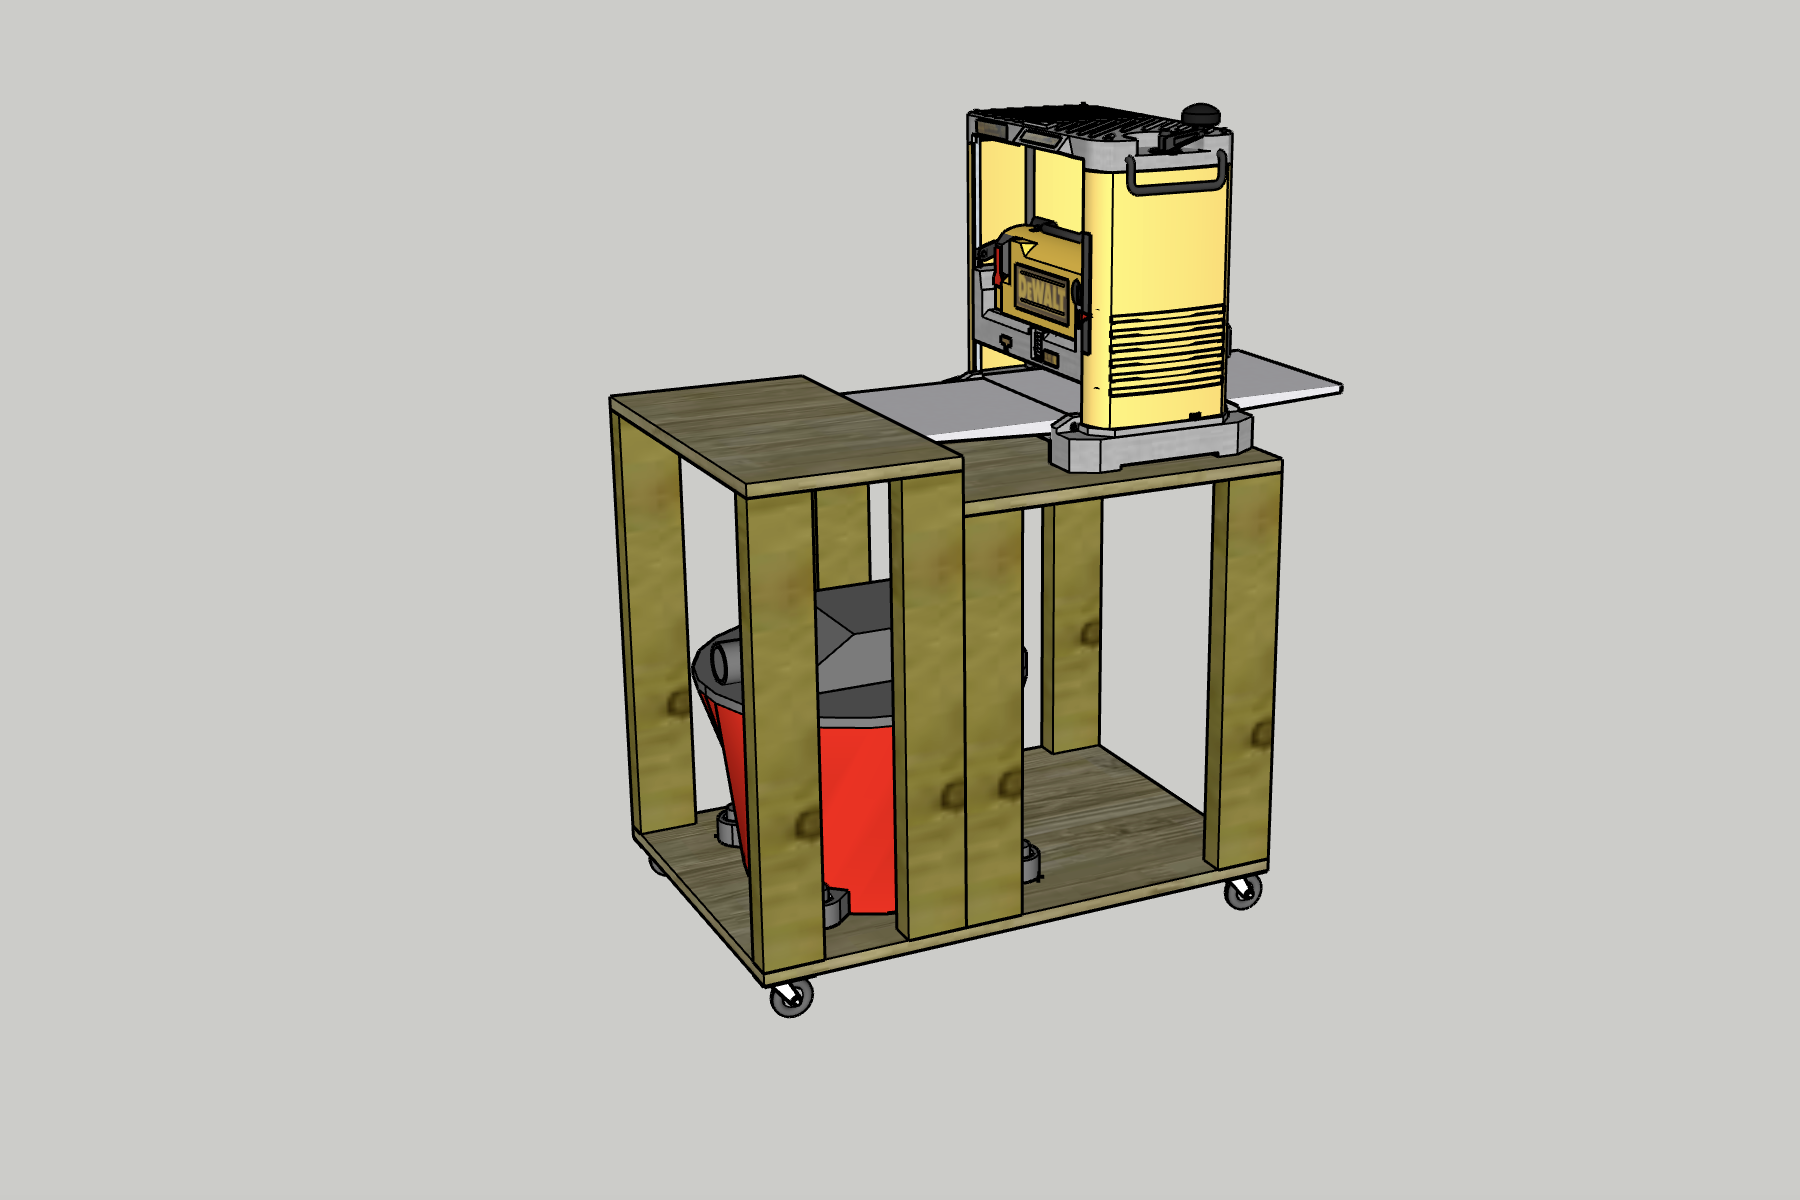
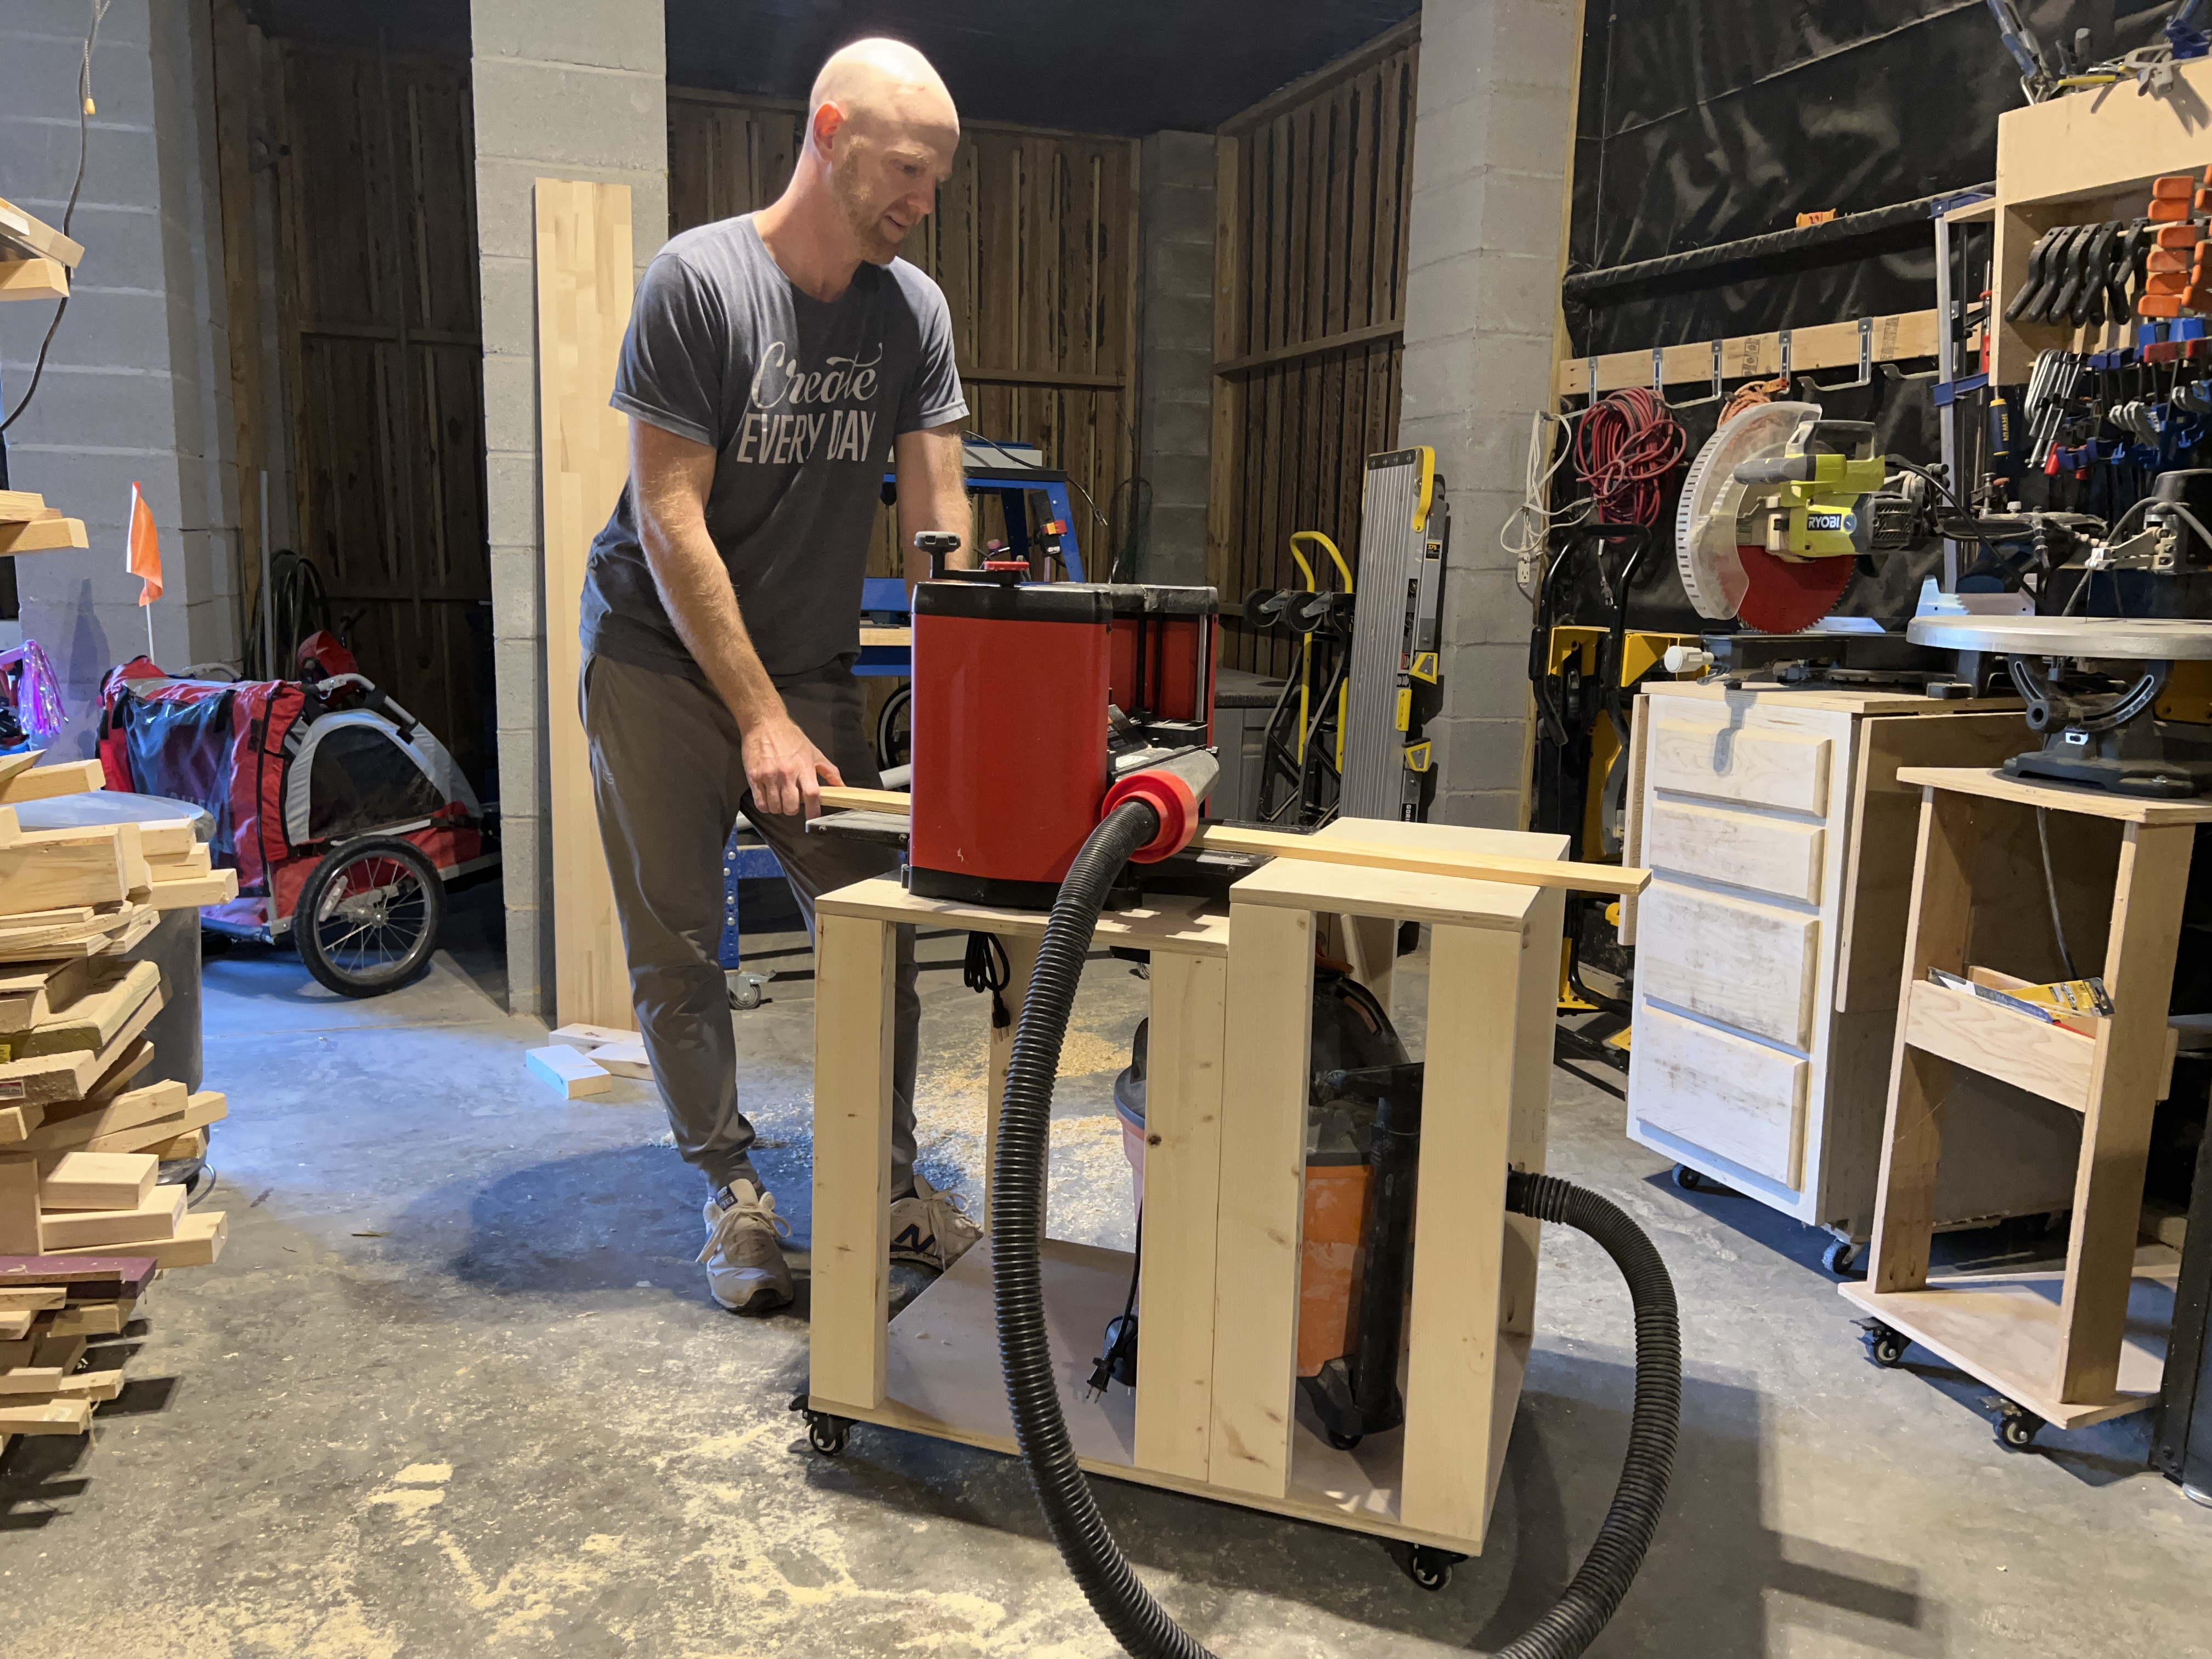
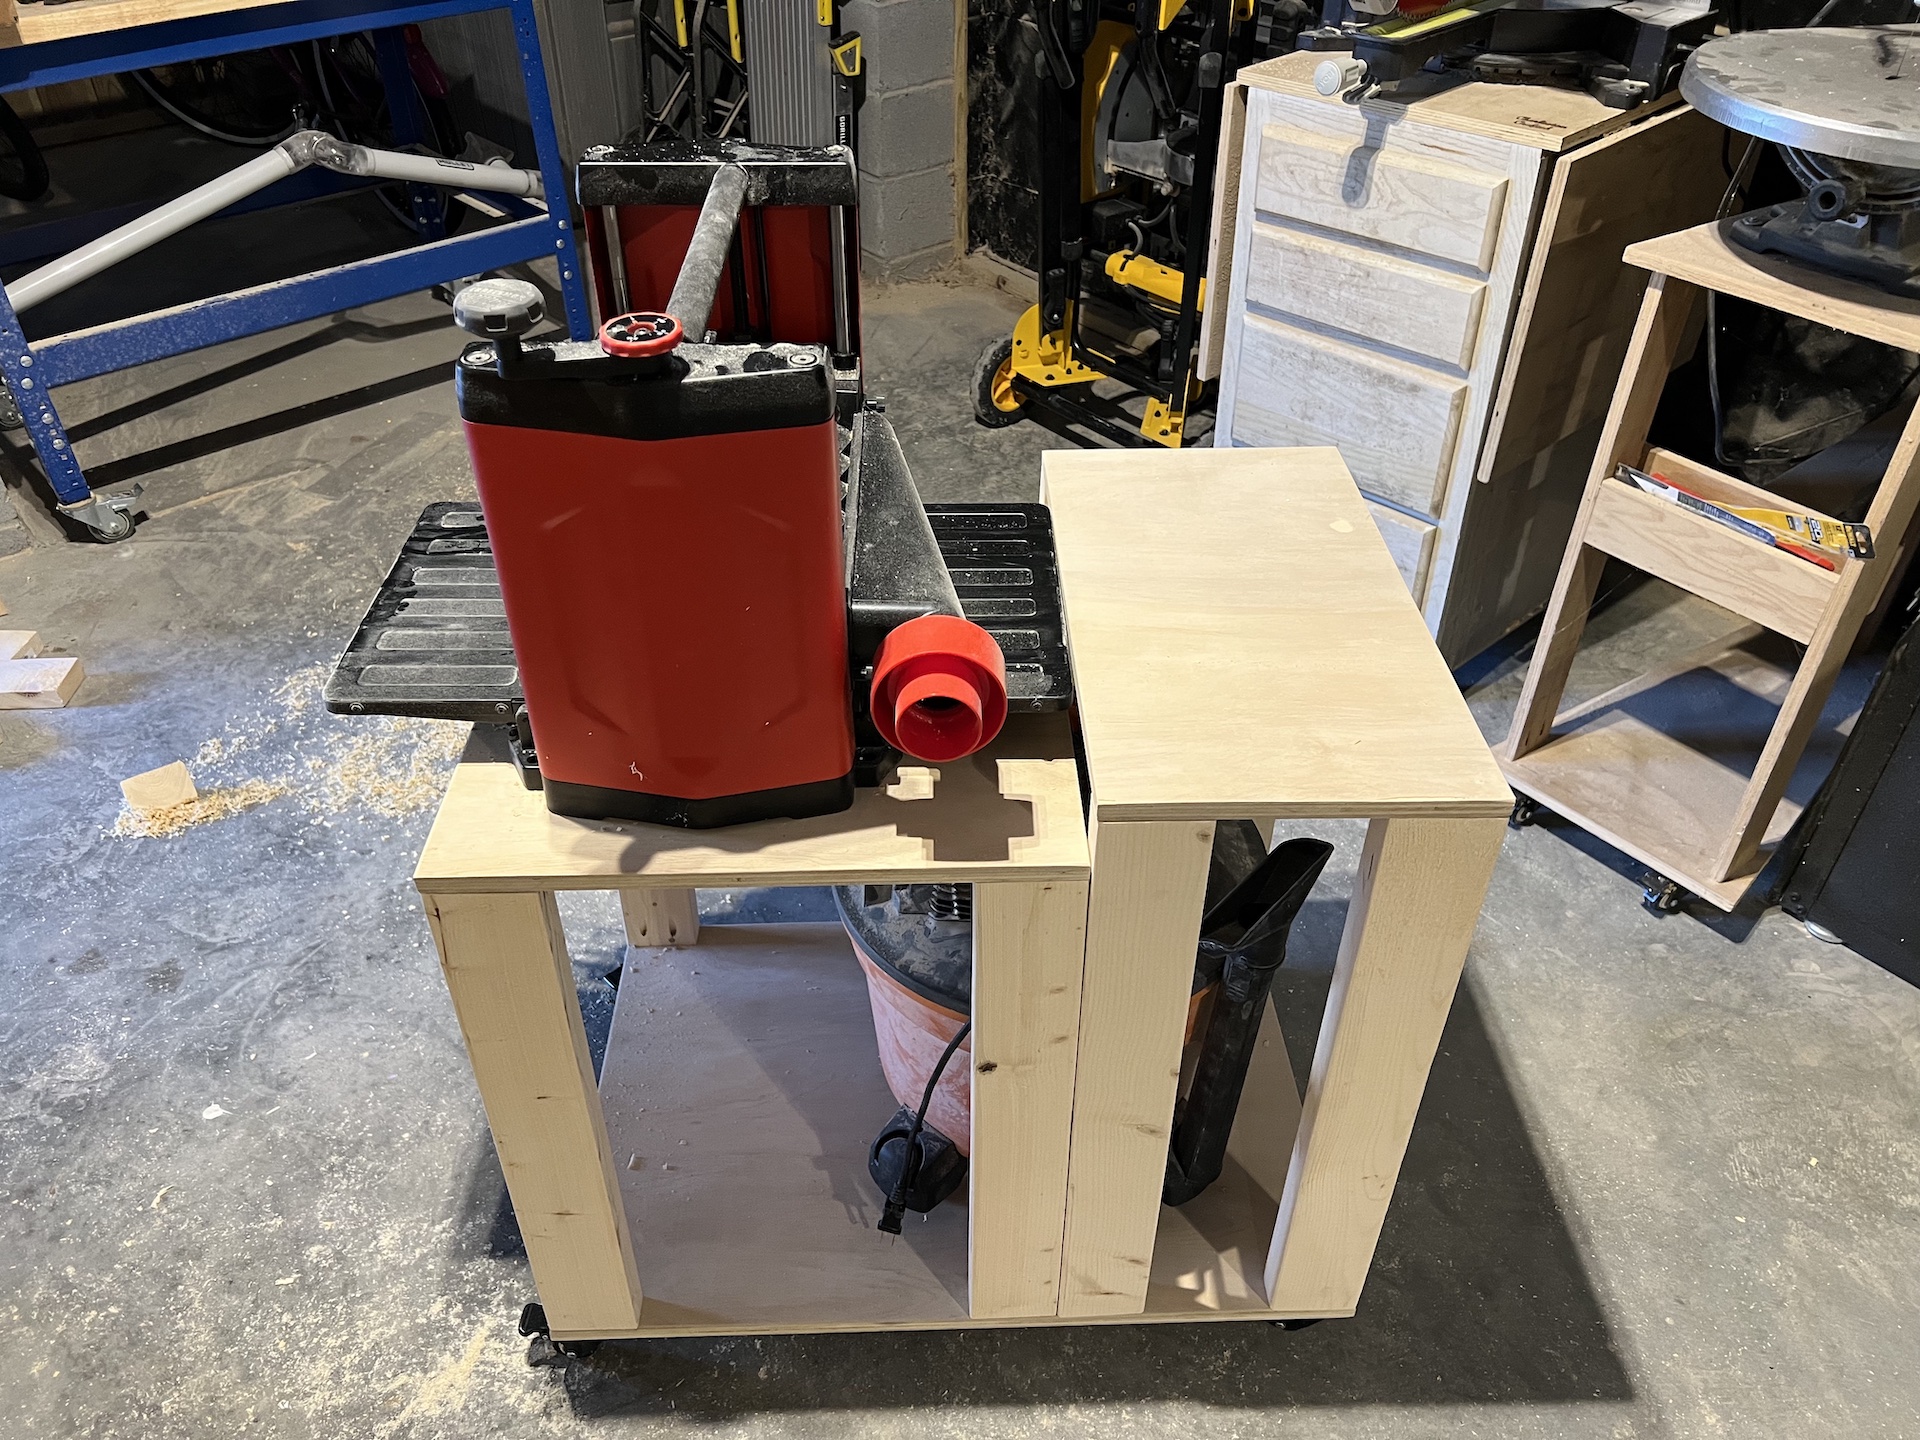
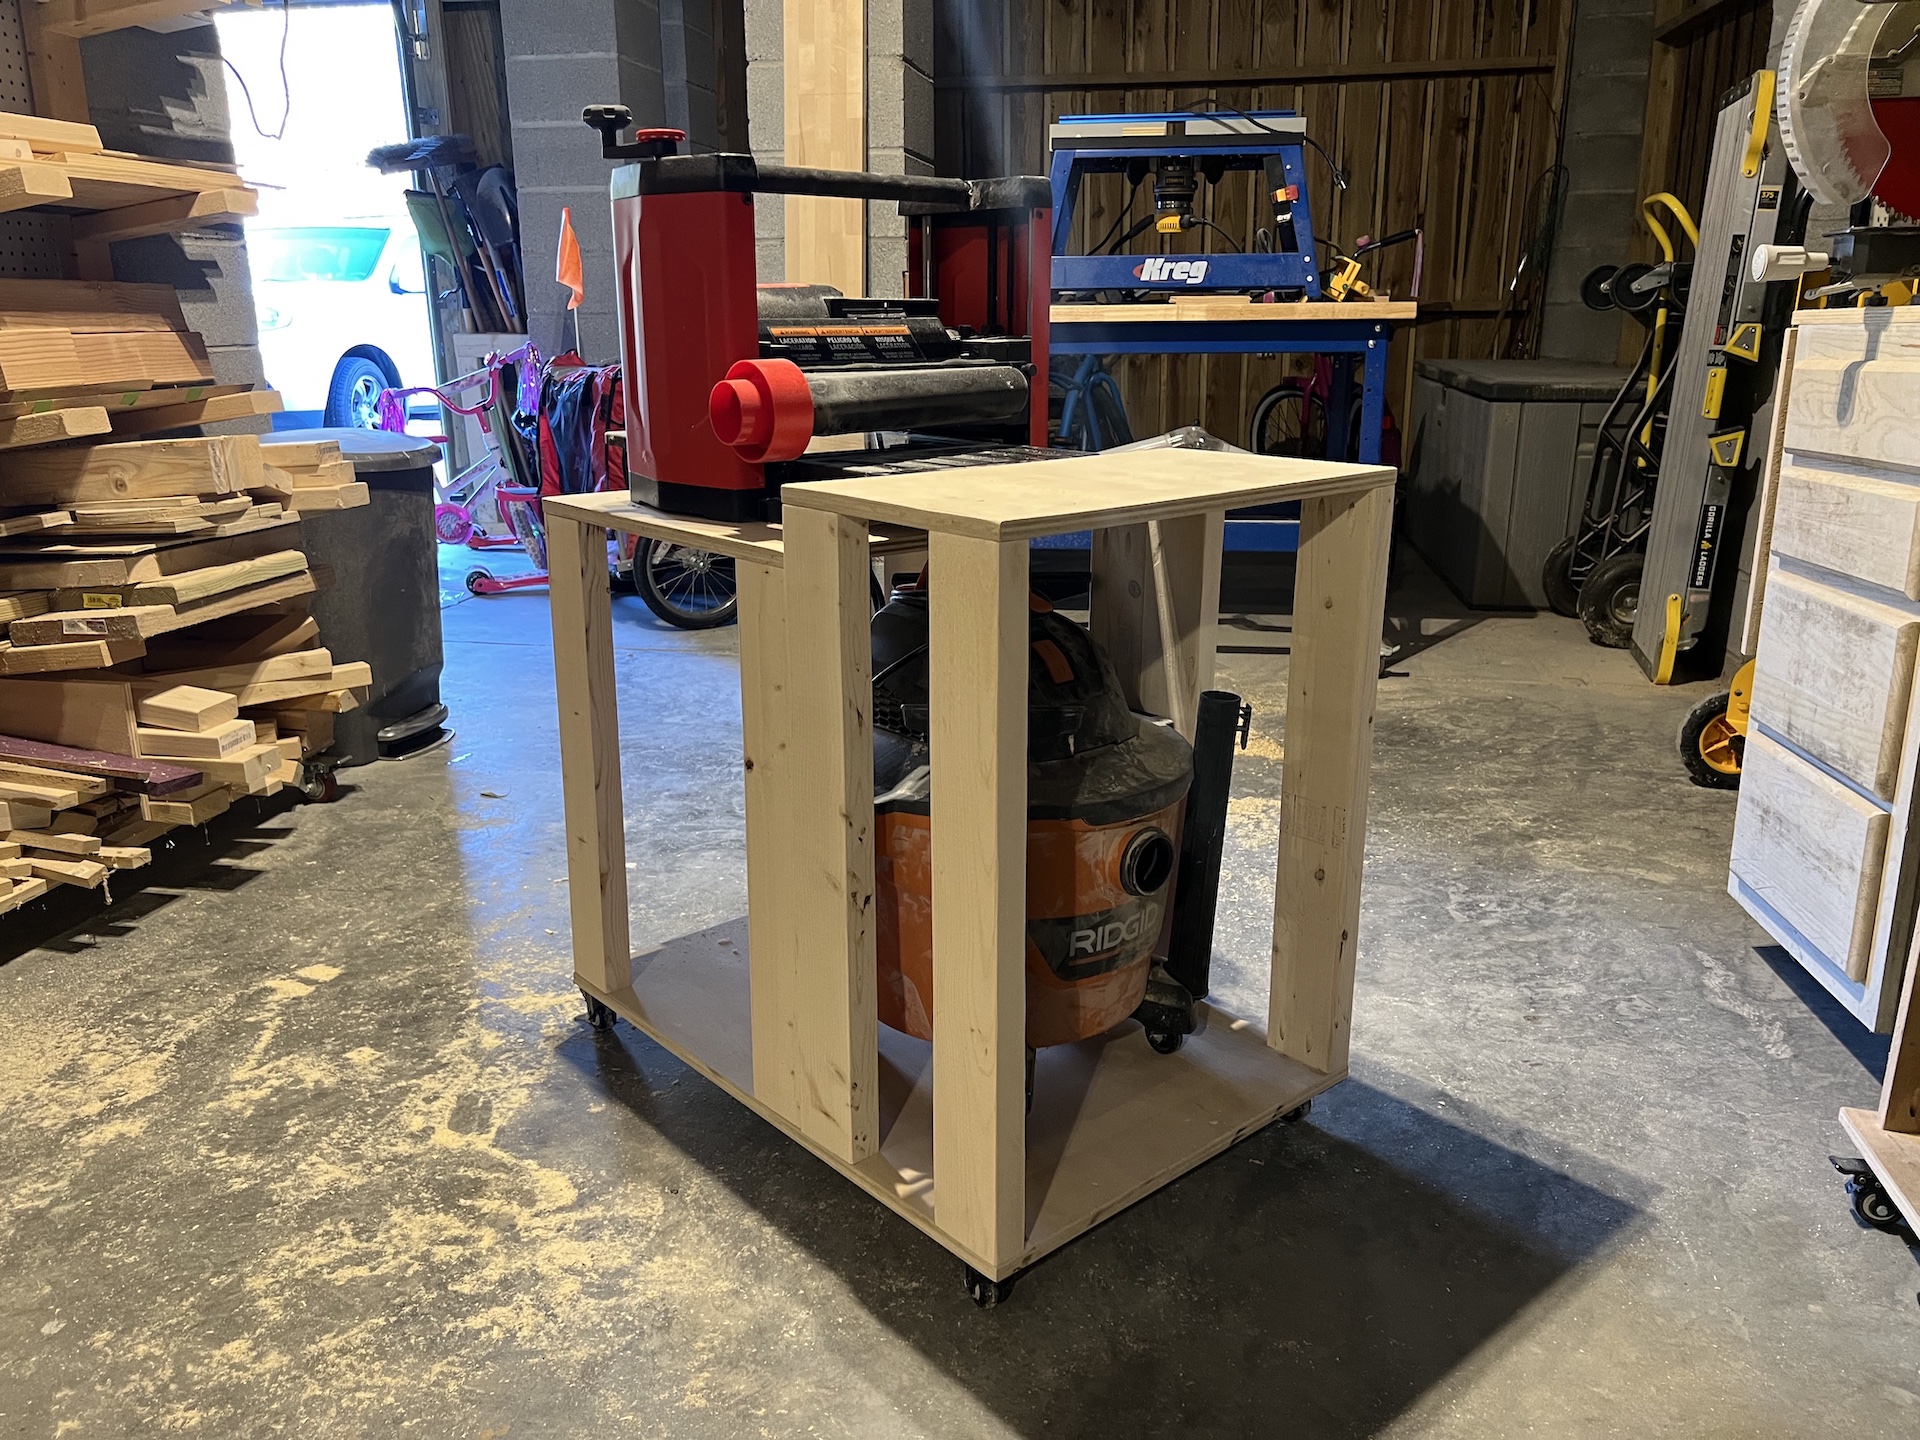
By Charleston CraftedThis rolling planer table is a great addition to any workshop. Keep your planer mobile so that you can use it where you need it! It includes an outfeed table and is customizable to include your shop vac or extra shelf.
Directions
-
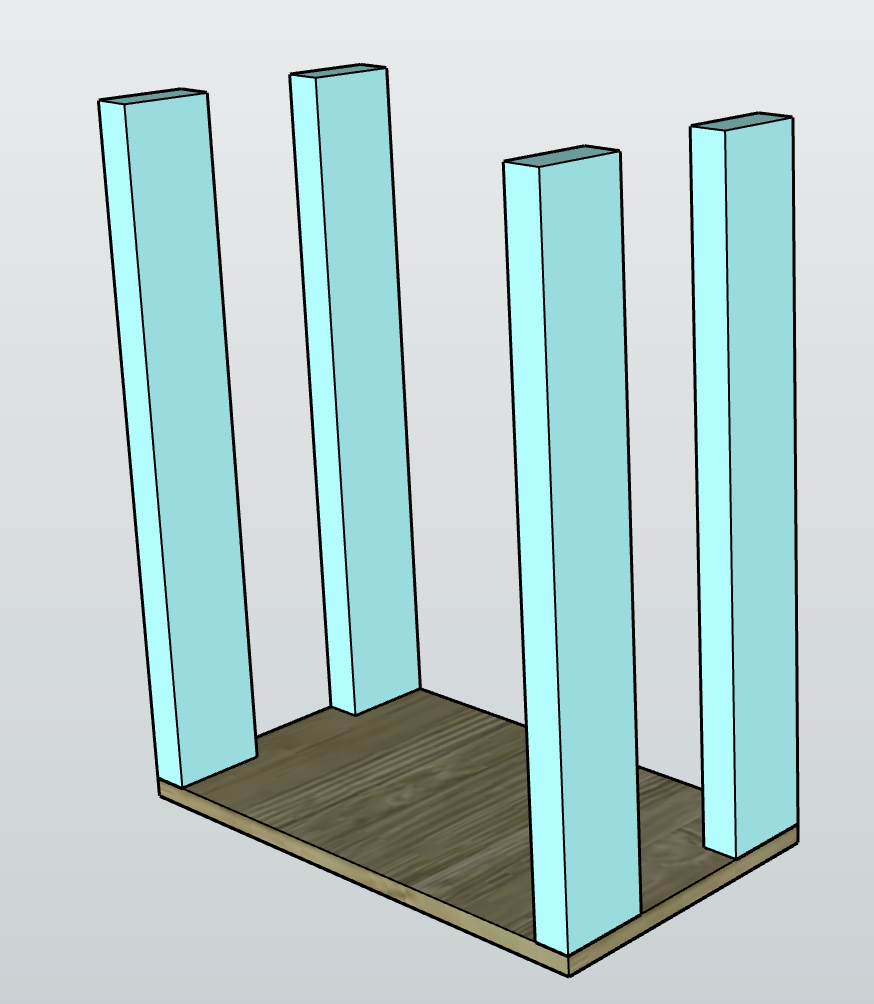
Drill pocket holes
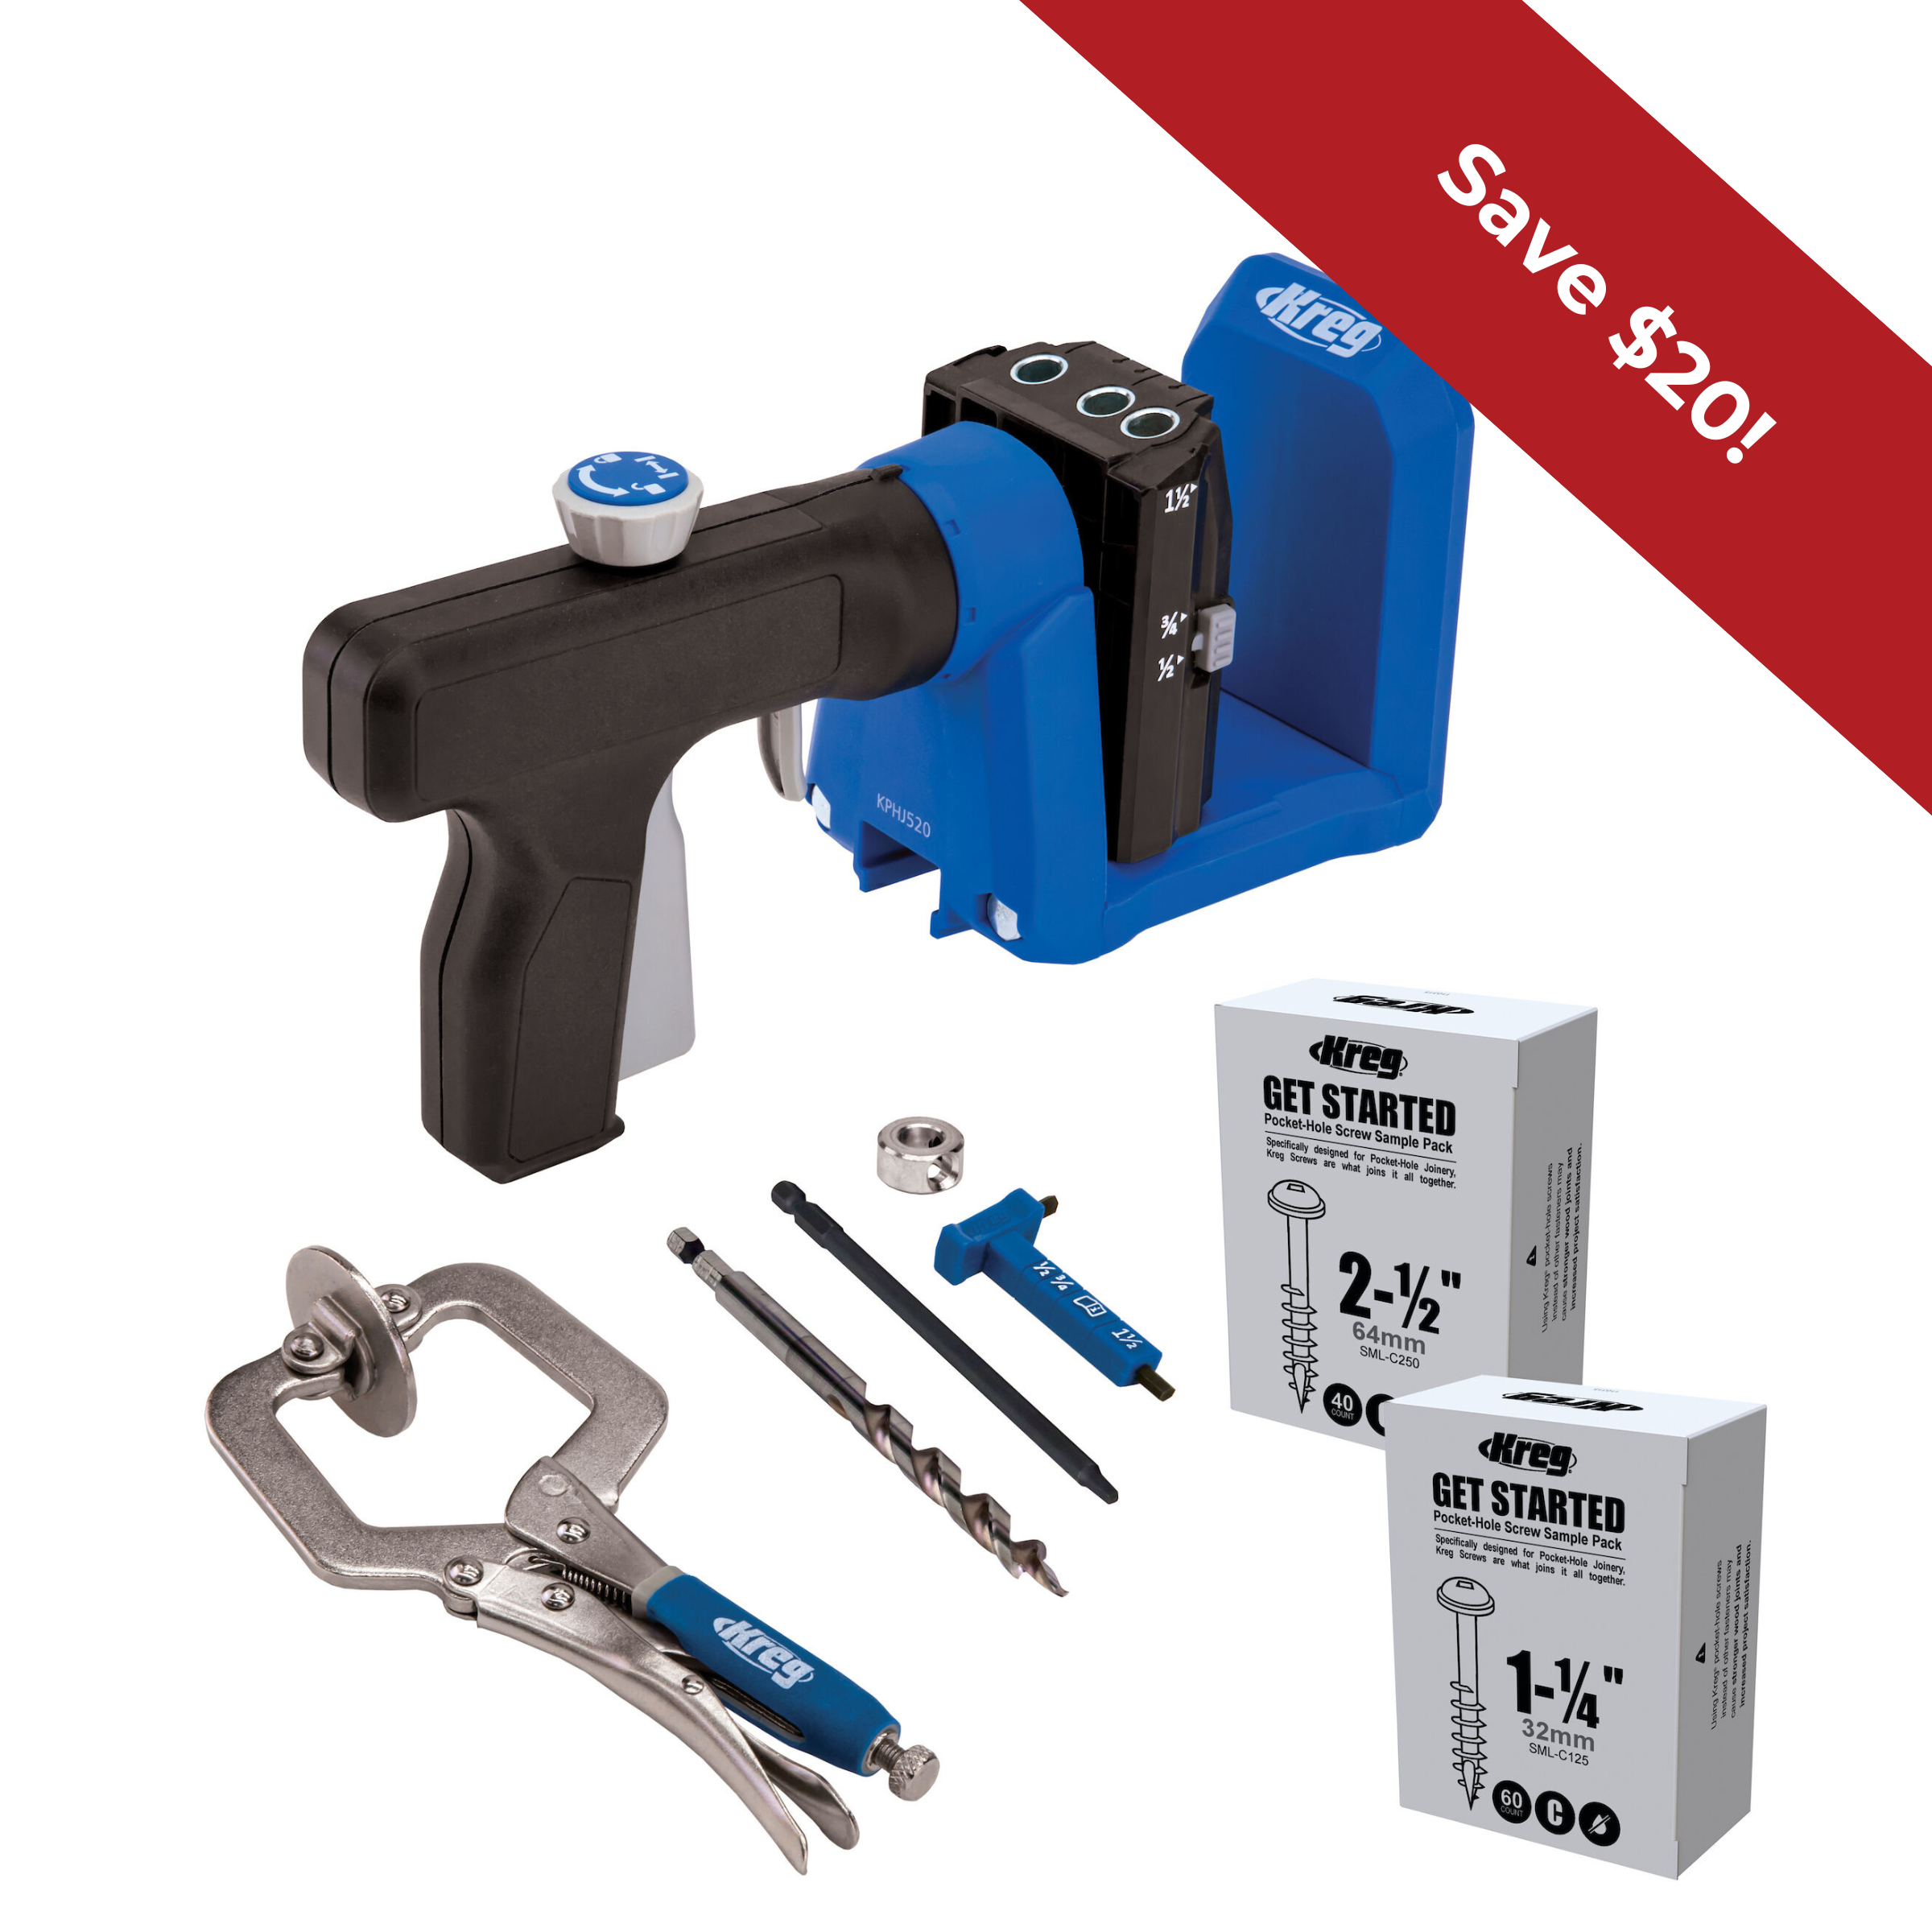
- Start by drilling two pocket holes on each end of all eight of the legs.
- Set the collar depth of the drill to 3/4" instead of 1 1/2" thickness, due to the fact that the screw will be going into 3/4" thick wood. -
Assemble Planer Base
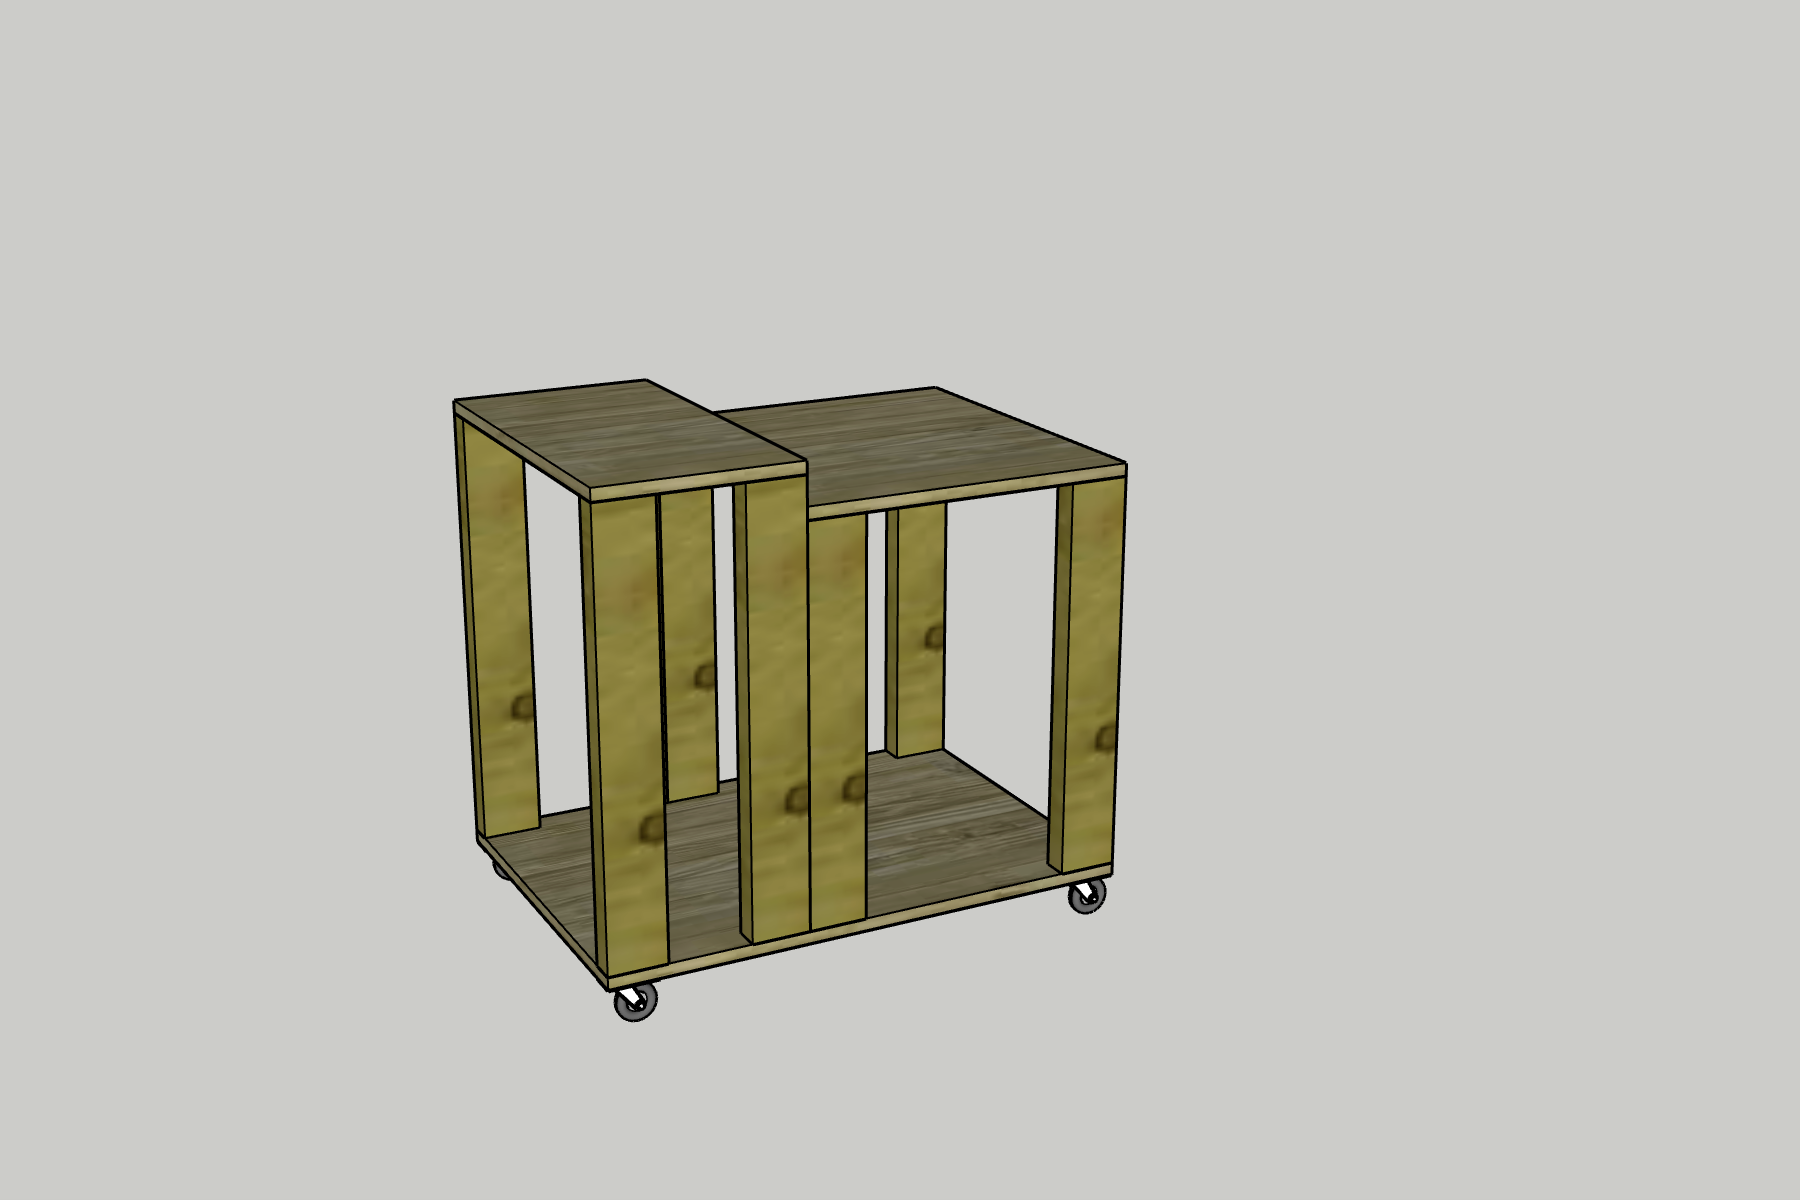
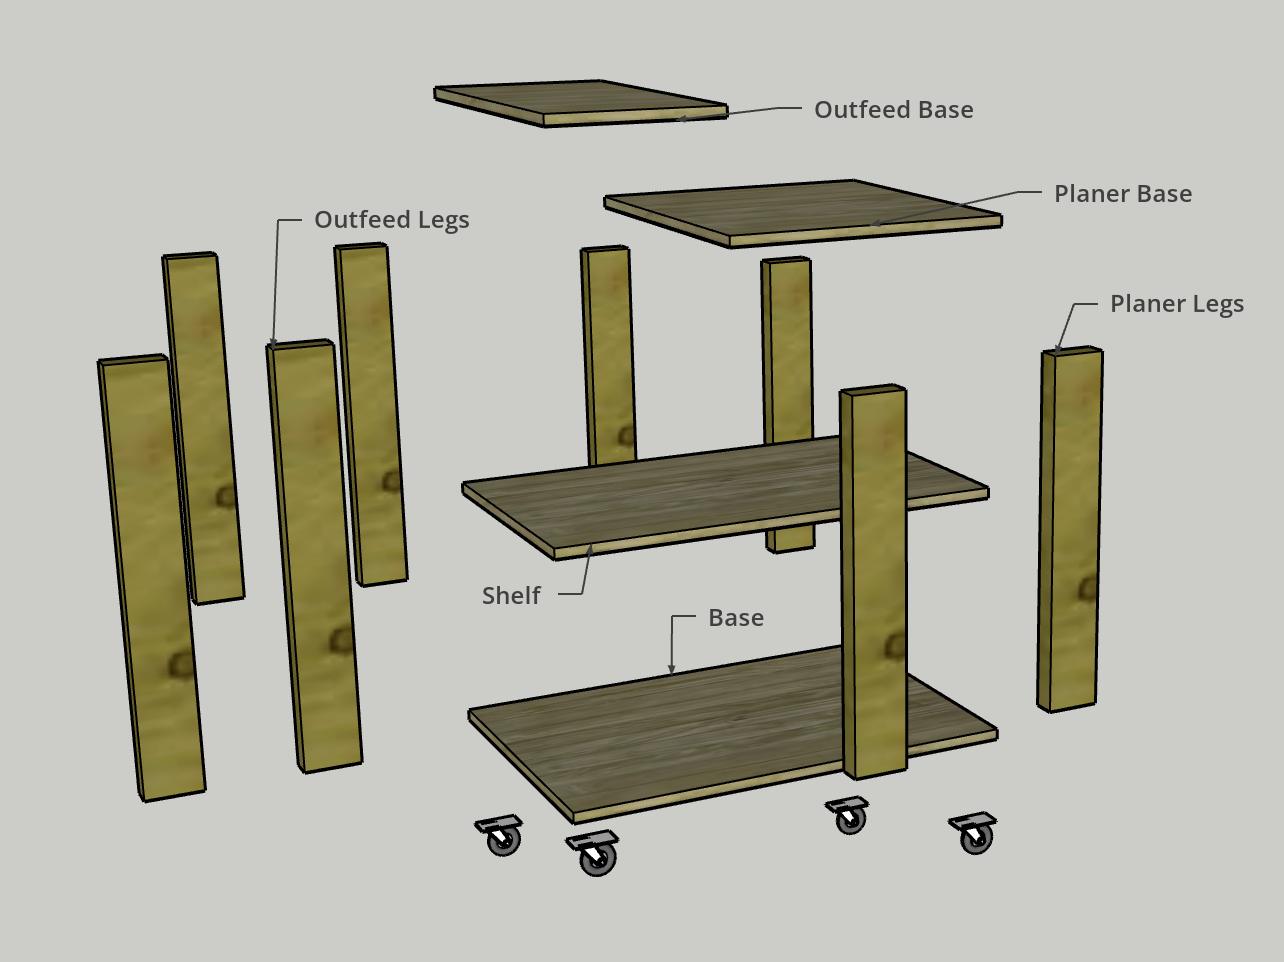
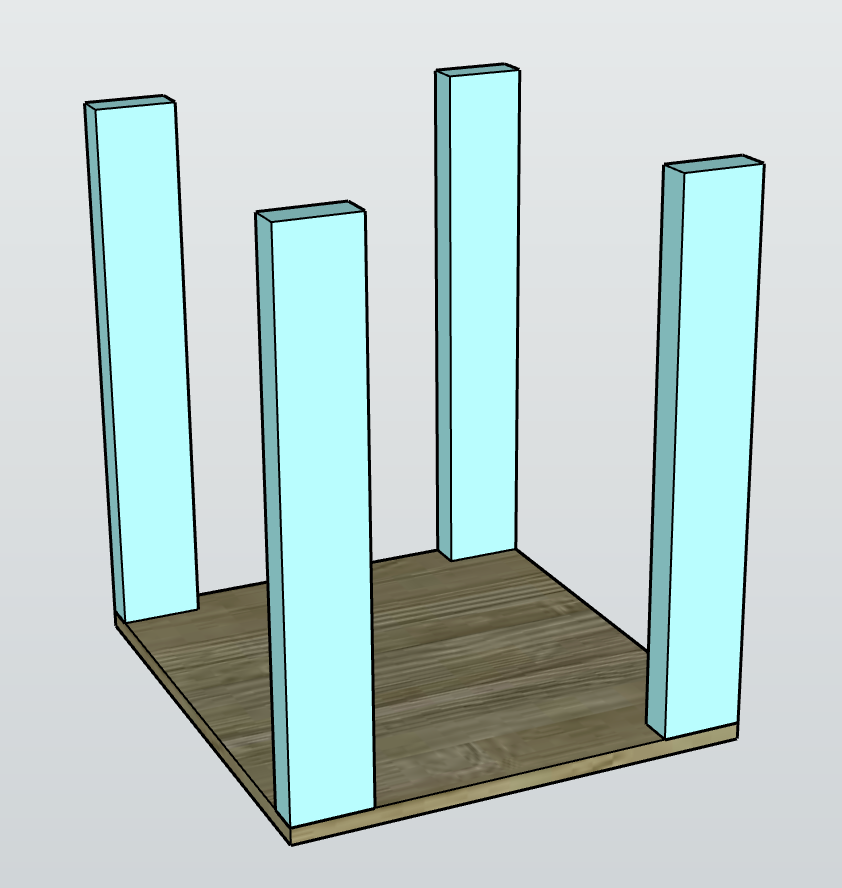
Using wood glue and 1 1/4" pocket hole screws, attach one Planer Leg into each corner of the Planer Base.
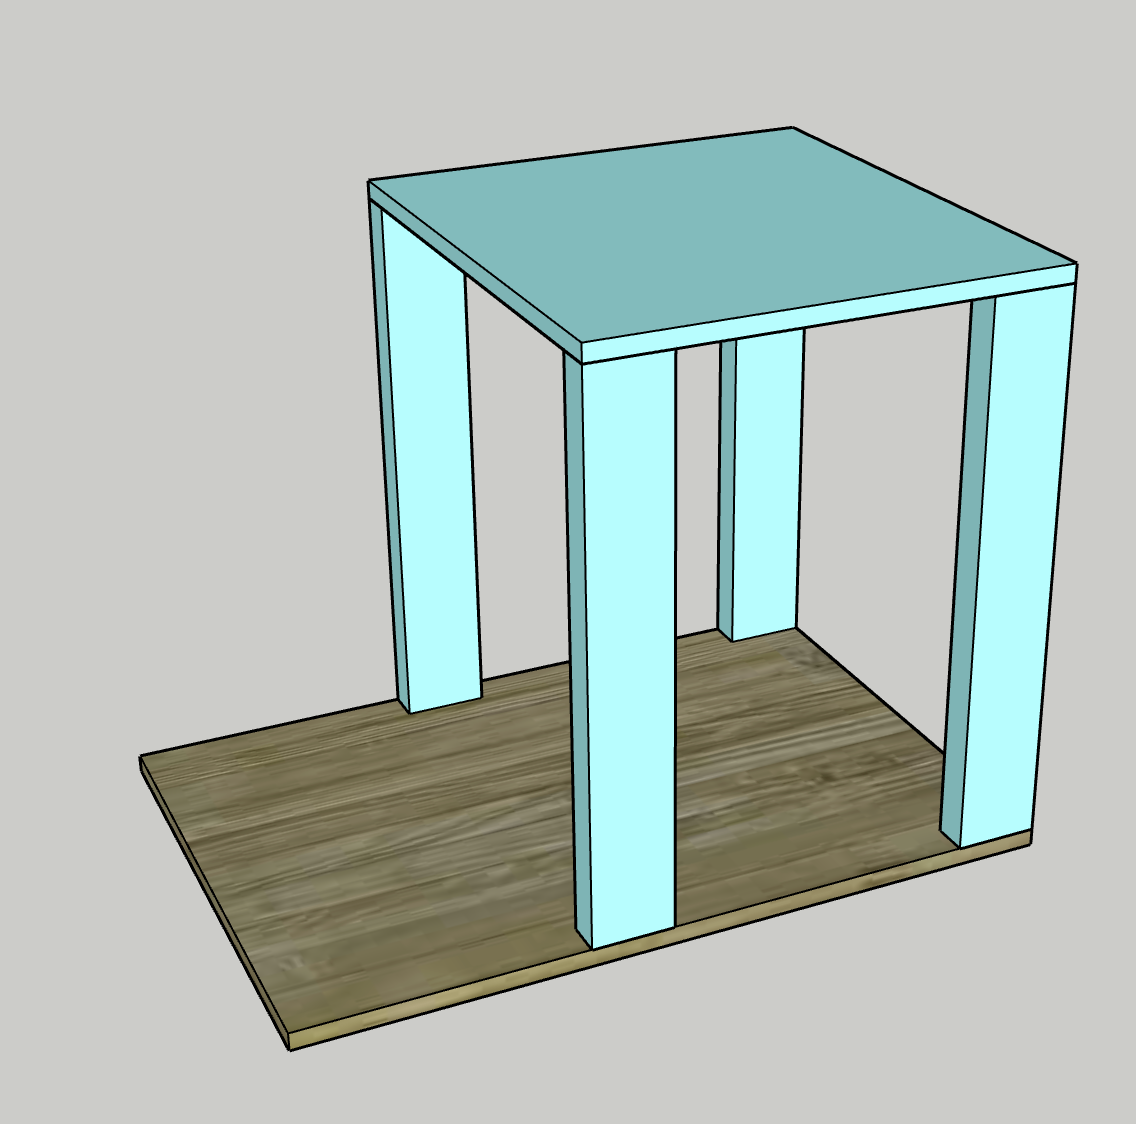
-
Assemble Outfeed Base
Using wood glue and 1 1/4" pocket hole screws, attach one Outfeed Leg into each corner of the Outfeed Base.
-
Attach Planer Base
- Using wood glue and 1 1/4" pocket hole screws, attach the Planer Base into the Base.
- Align two of the Planer Legs into two corners of the Base. -
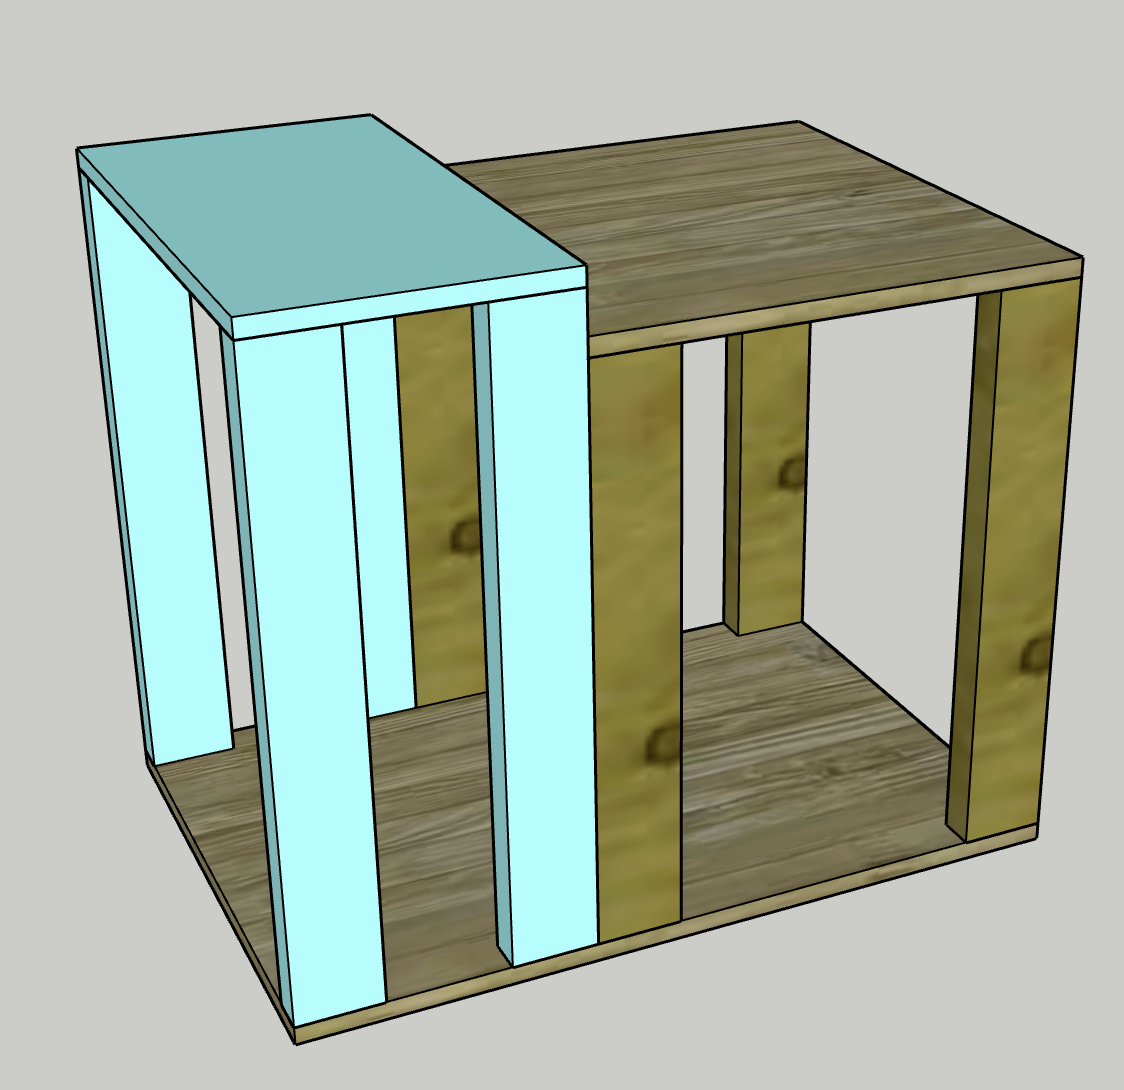
Attach Outfeed Base
- Using wood glue and 1 1/4" pocket hole screws, attach the Outfeed Base into the Base.
- Align two of the Outfeed Legs into the opposite two corners of the Base and the other two legs aligning next to the Planer Legs in the middle.
- You may also want to add a long screw to attach these two legs in the middle to keep them aligned. -
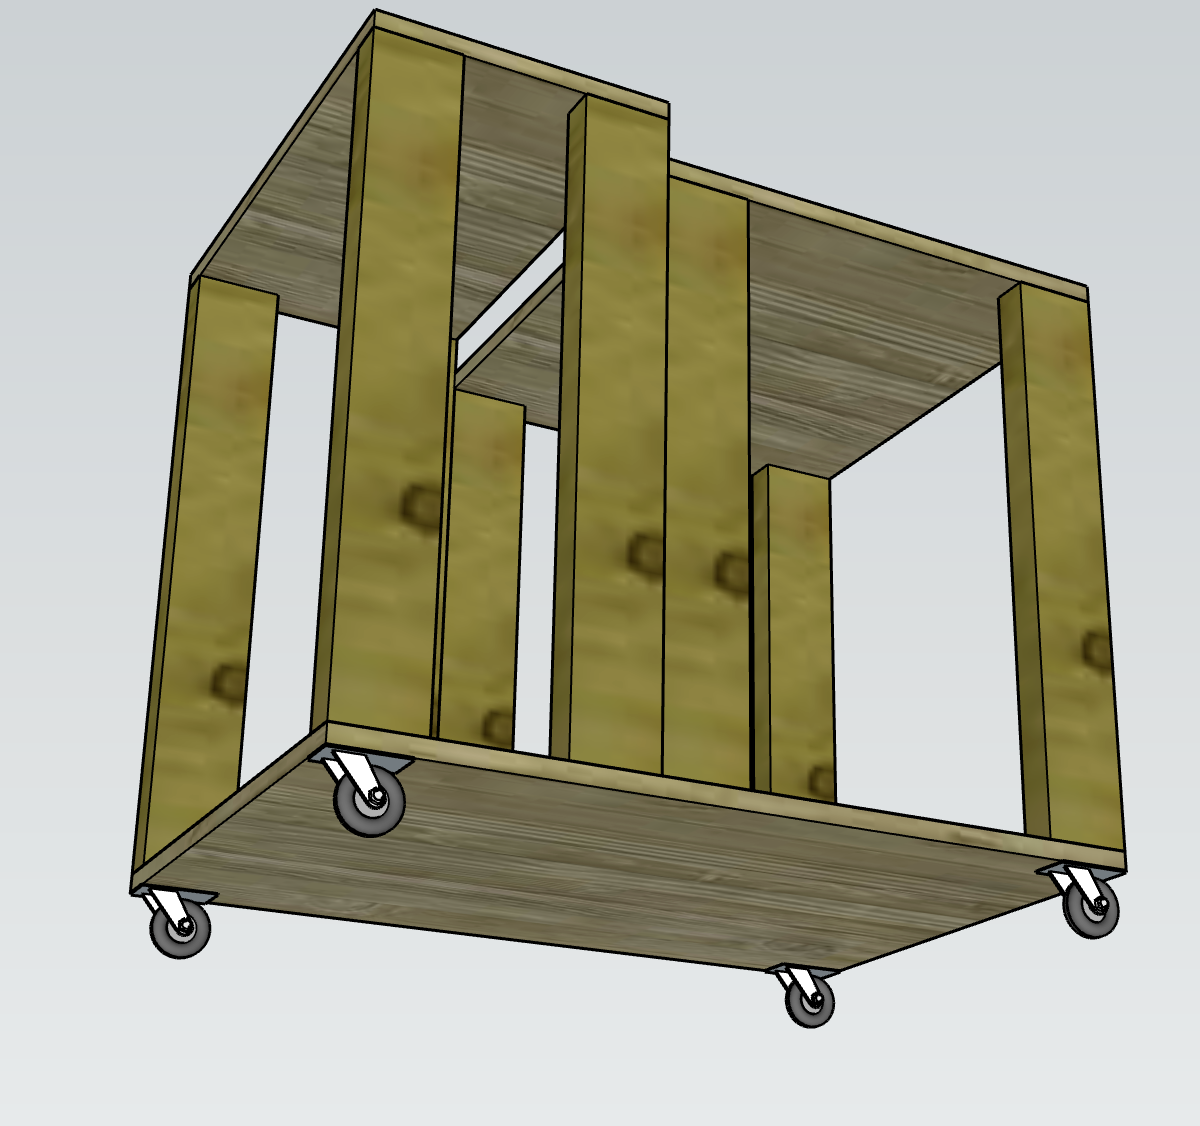
Attach Casters
Turn the planer table on its side and attach the casters in each corner.
-
Set Up Planer
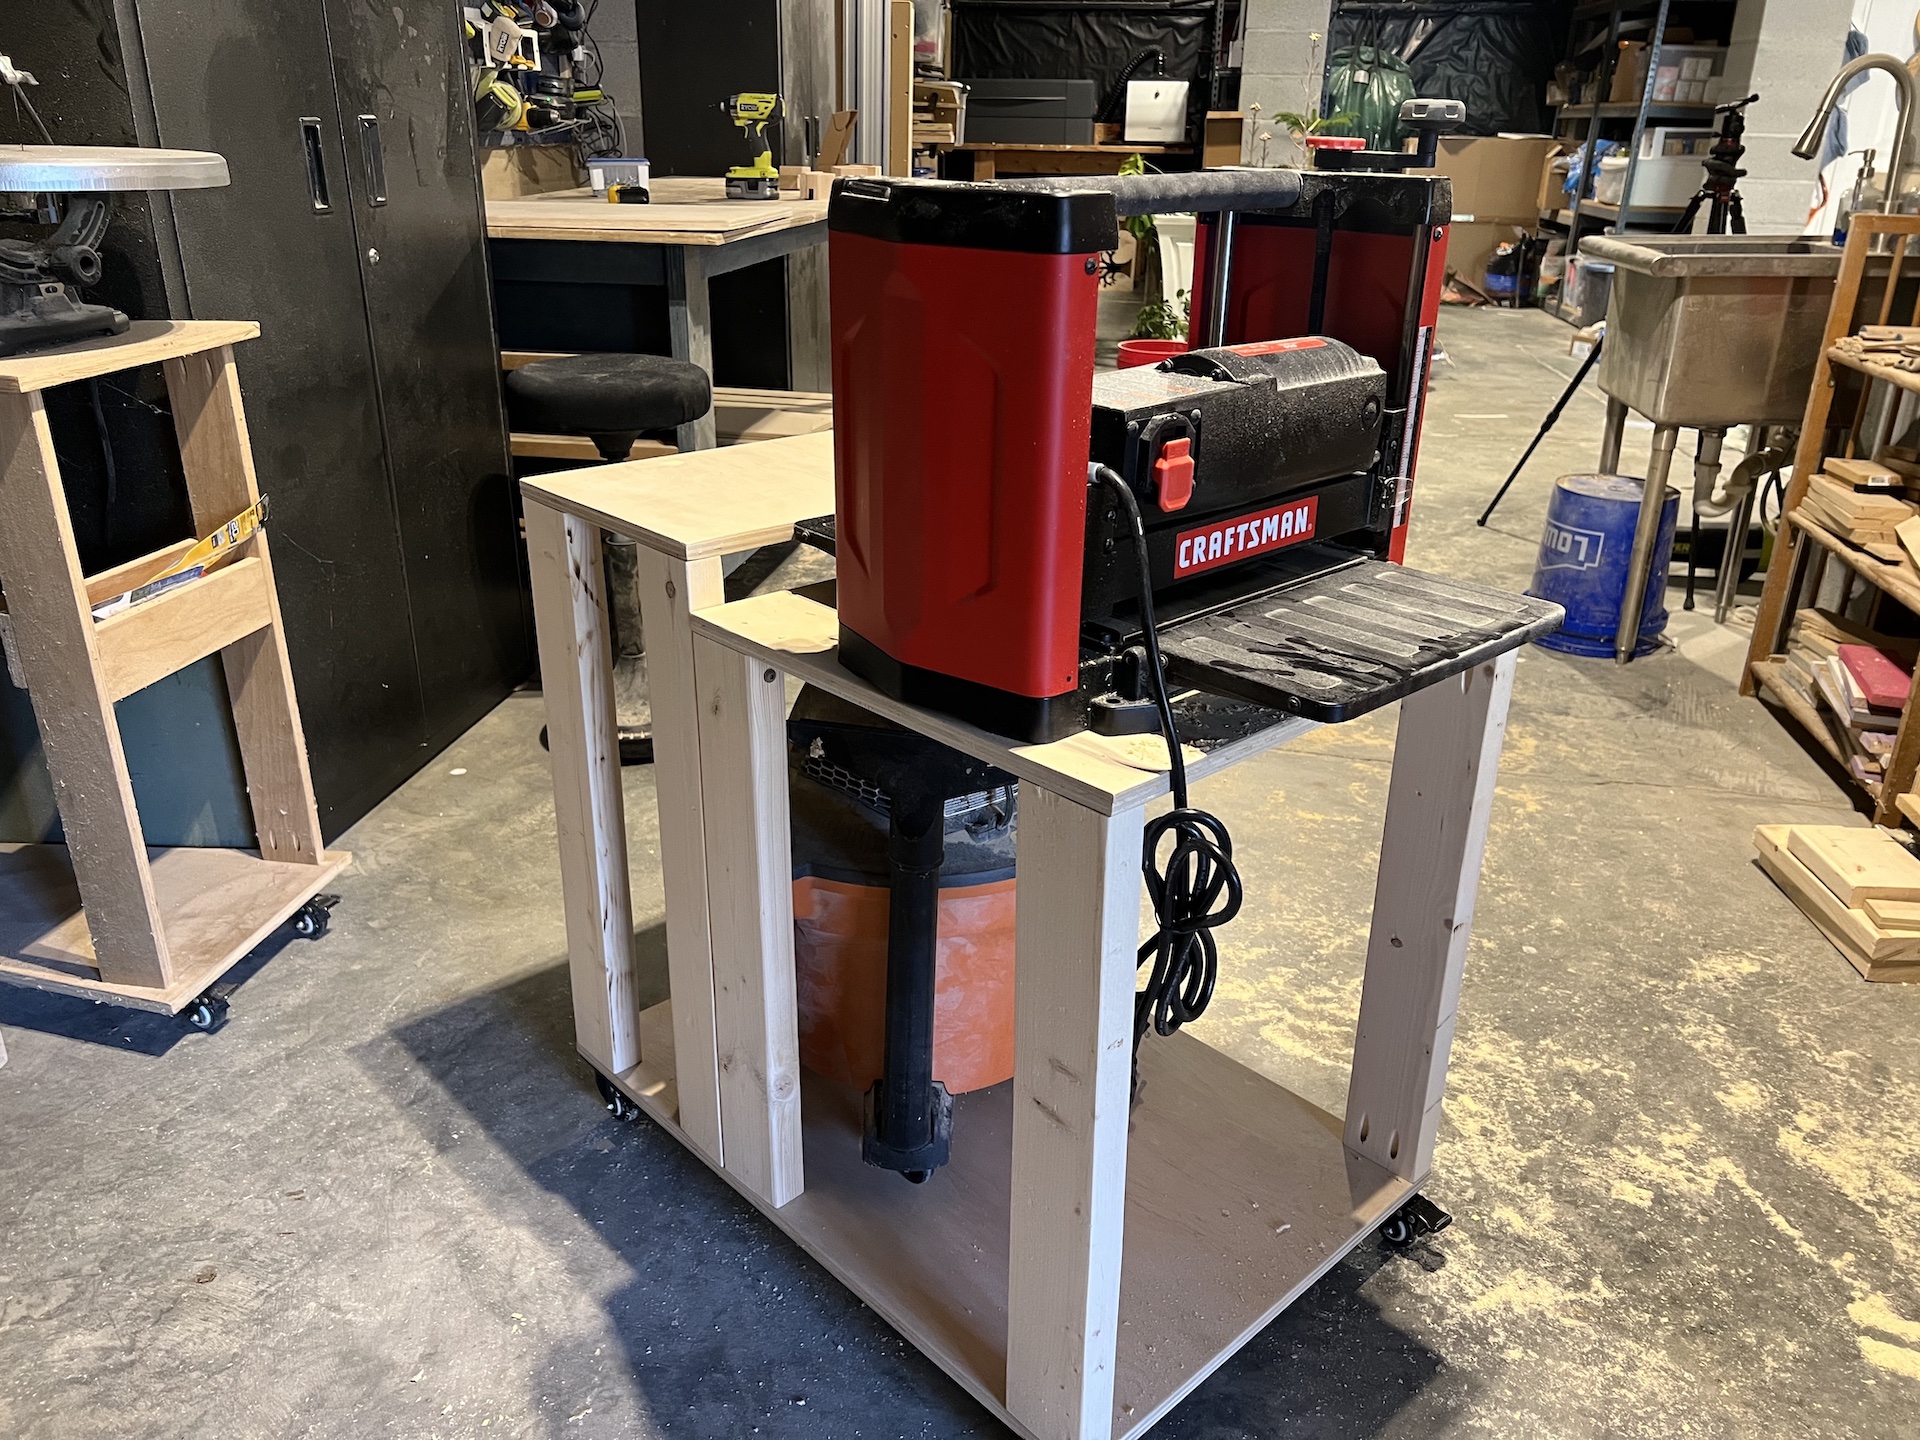
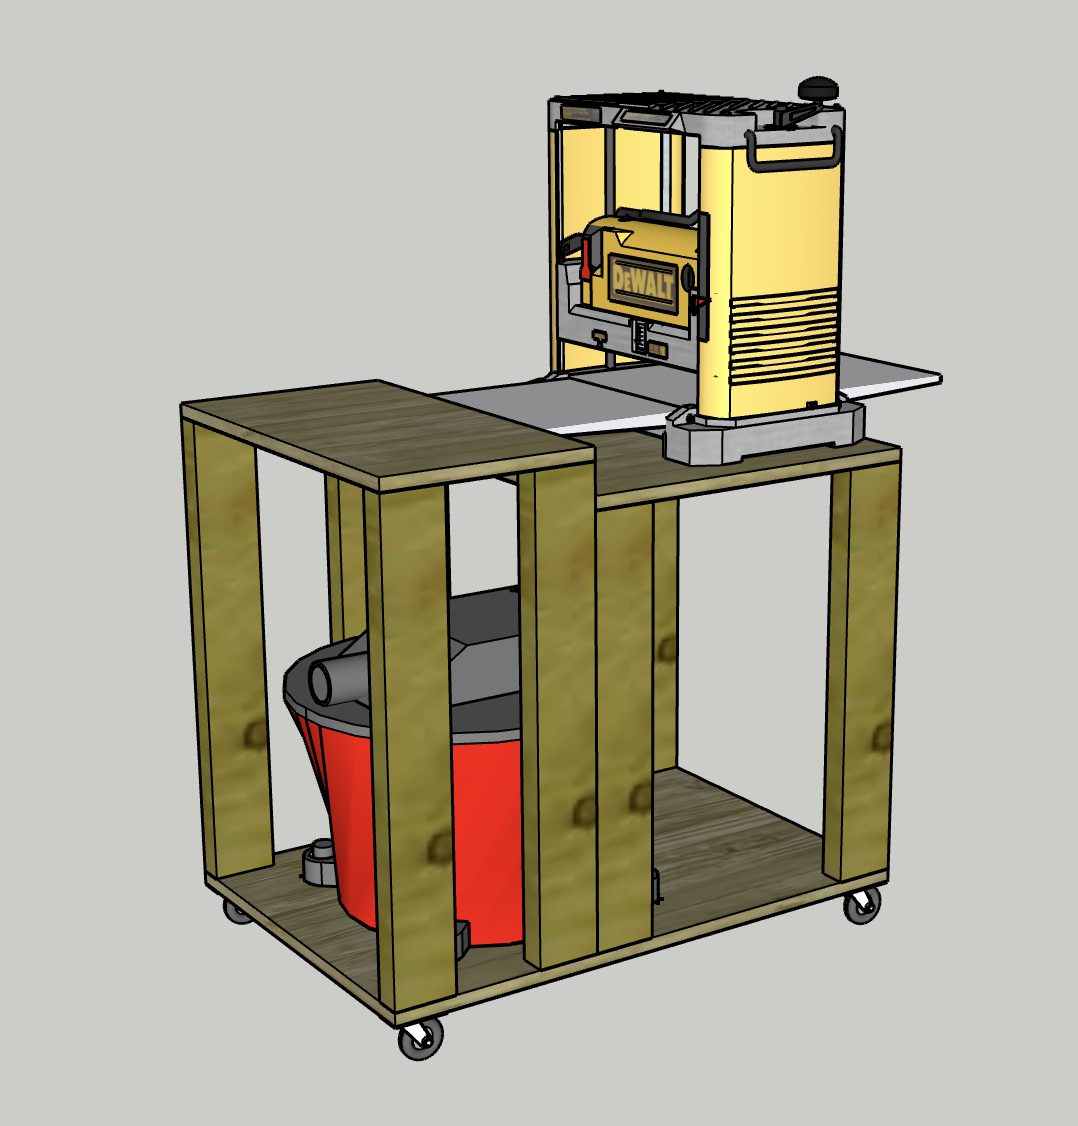
- Place your planer on the Planer Base and open its attach outfeed base and push that up against the Outfeed Base of the table.
- Secure planer into the Planer Base with screws.
- Slide shop vac under the table and attach the hose to the planer. -
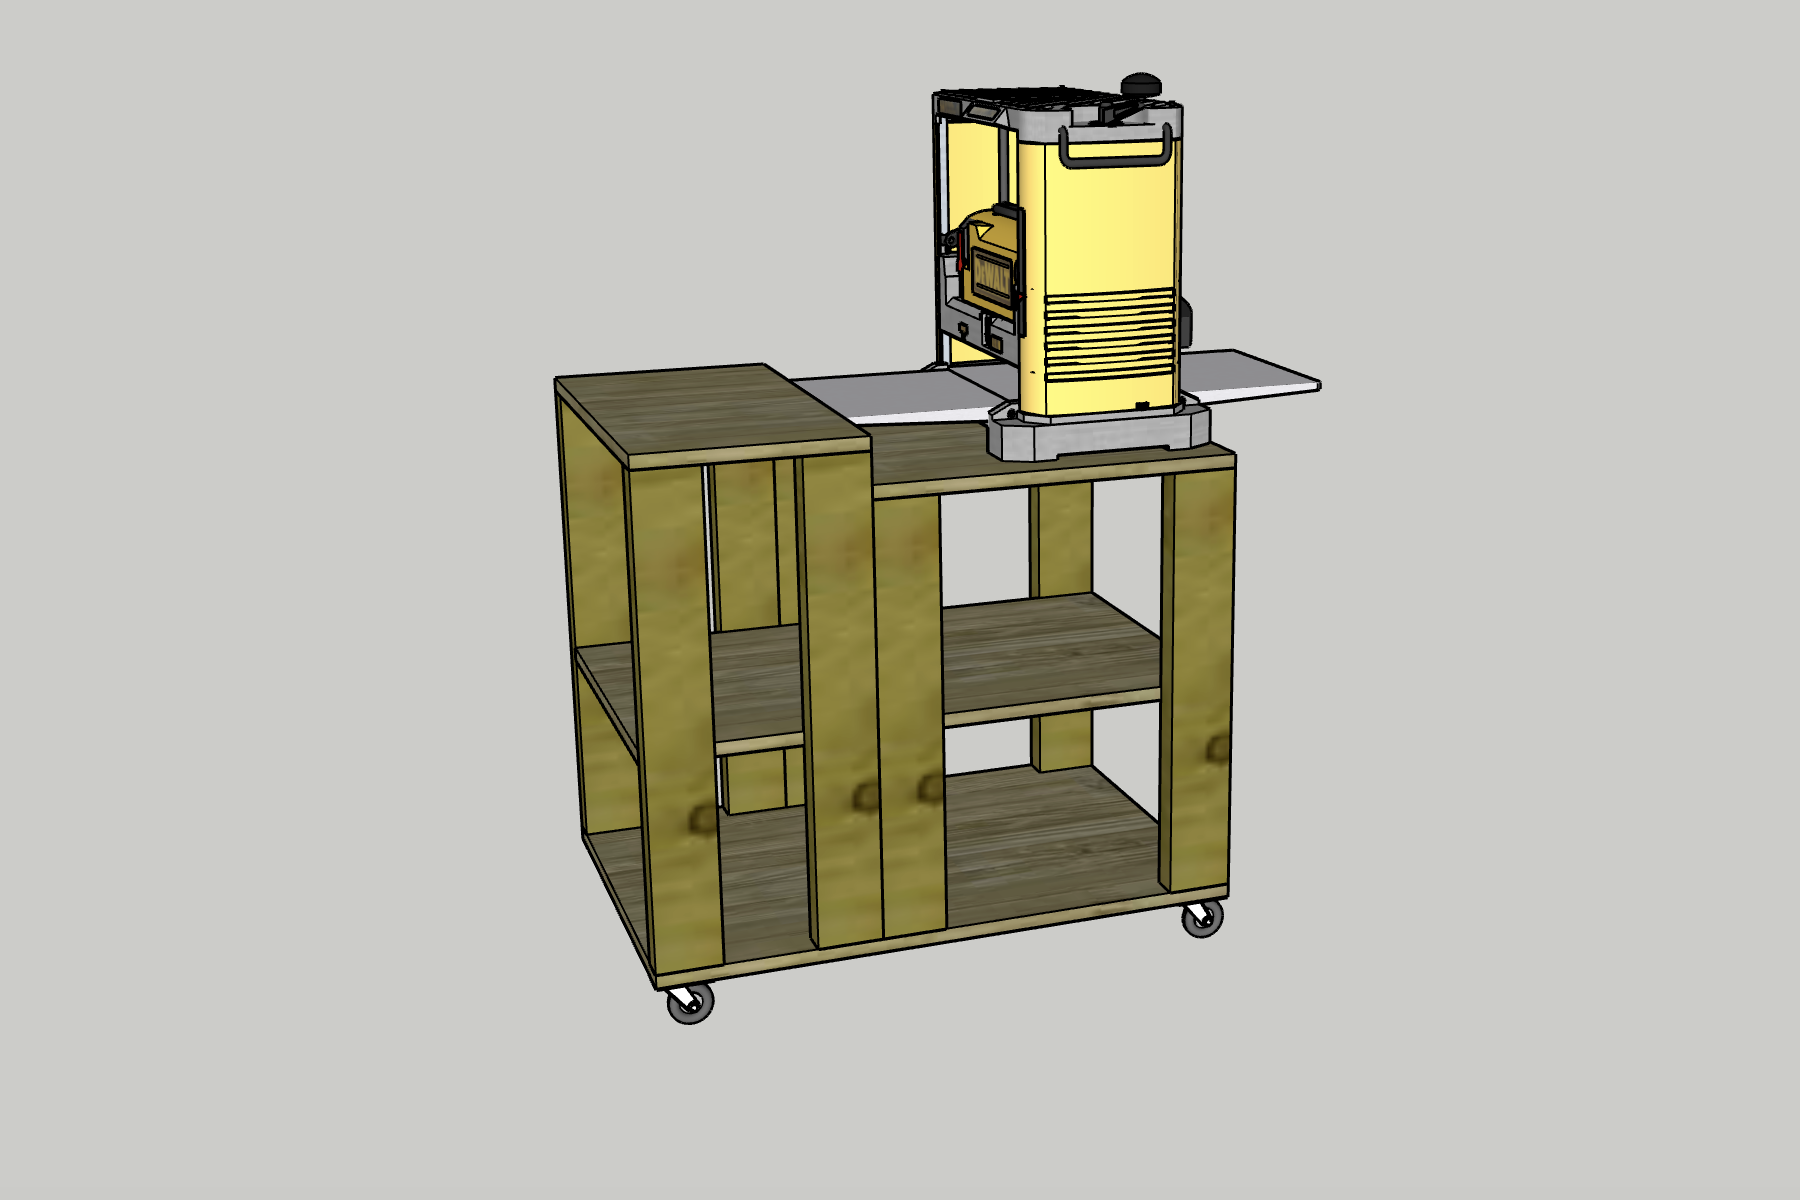
Optional Shelf
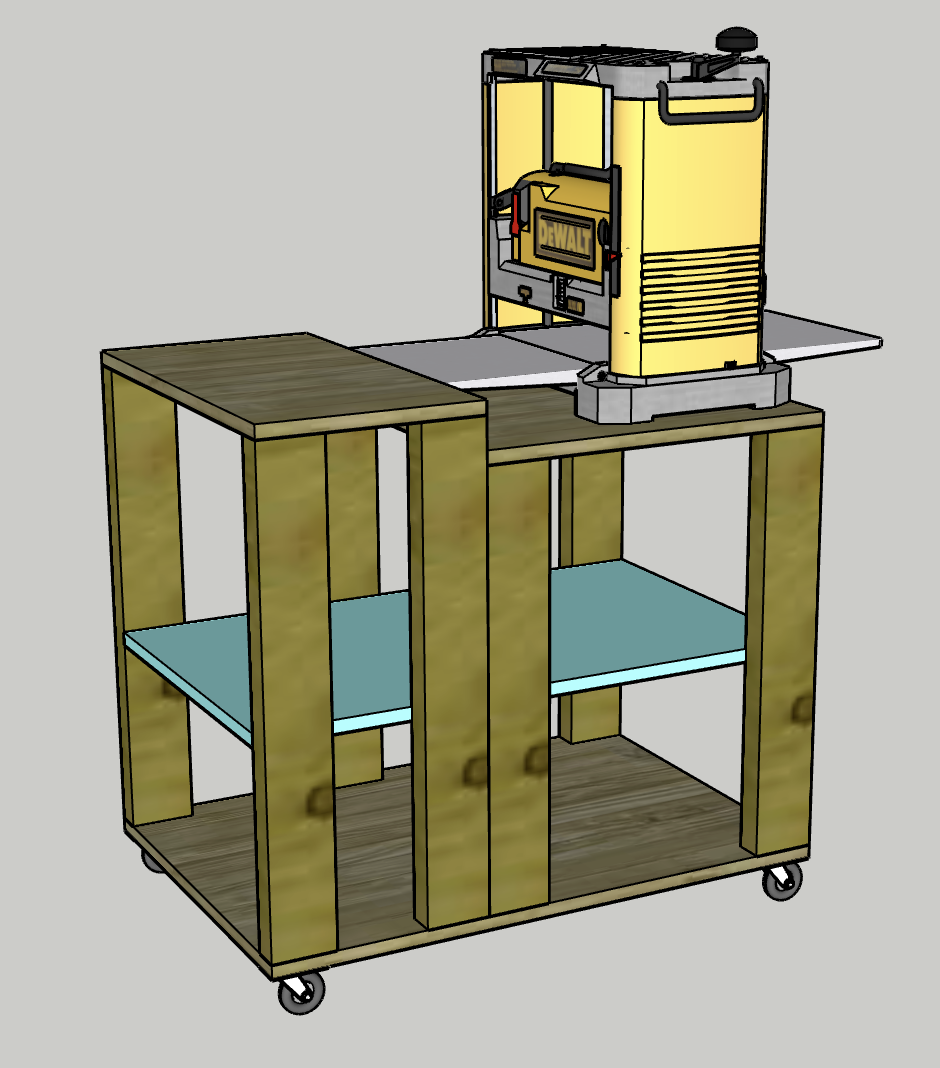
You can also add an optional Shelf from the cut list and attach this in the middle of the planer table legs if you’d rather have this than the shop vac.
-
Enjoy
Enjoy your handiwork and tag @CharlestonCraftedBuilds on Instagram with a picture!


